
www.finescrollsaw.com
George Washington box
|
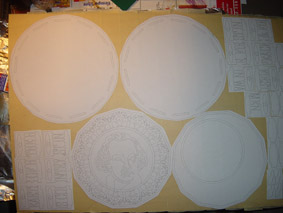
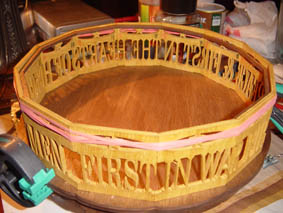
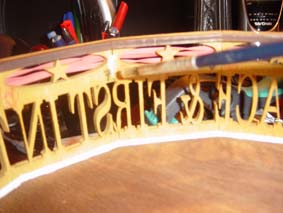
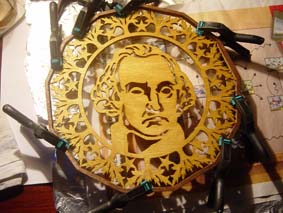
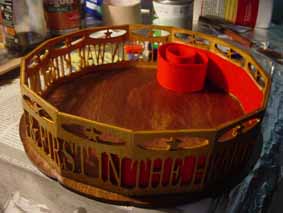
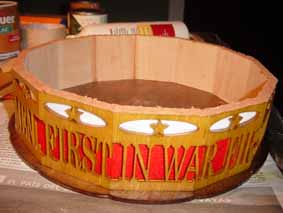
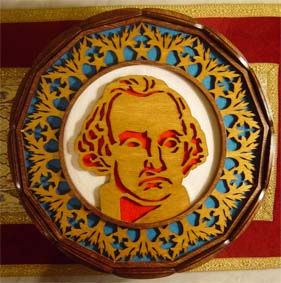
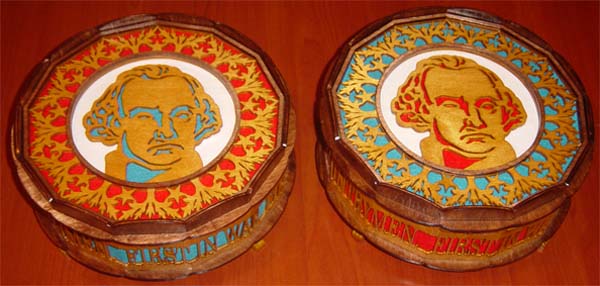
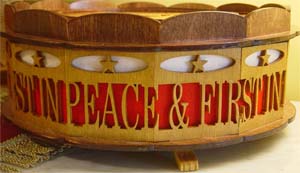
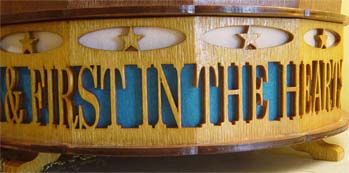
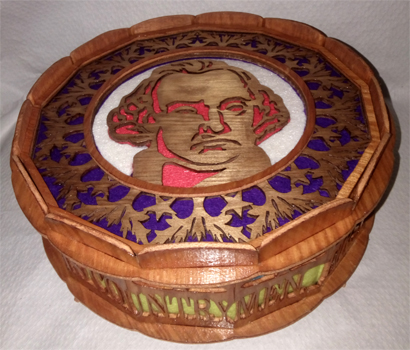
This box is devoted to George Washington, the first president of the United States of America. It has thirteen sides and a portrait of Washington surrounded by thirteen stars, this number representing the thirteen American colonies that became independent from England to found the new nation in 1776. Along the sides of the box the following text can be read: ¨First in war, first in peace & first in the hearts of his countrymen.¨ The box has a diameter of 27 cm. (about 11 inches), though of course it can be resized at will. In this section I show you more pictures of this box along with several pictures taken during its construction. These pictures only intend to be some comments that can be of interest. |
 |
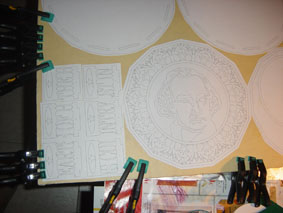
The most elaborate pieces of the box are all different, so by stack cutting two woods we easily make two boxes with just a bit more of work. Stack cutting three or four is also feasible. We have two big boards of plywood. We cover one of the boards with masking tape and glue the waste copy of the pattern onto it. |
 |
We then adjoin the second board and hold the two boards together with clamps. Then we apply glue all along the edges of the two boards and leave to dry. |
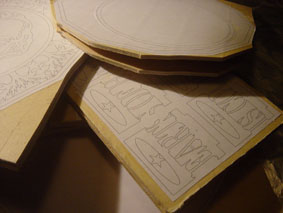 |
We then cut the boards into smaller pieces. Some of the pieces may end up glued just on a little portion of their sides. |
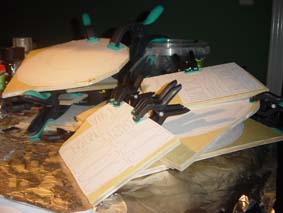 |
If necessary, we apply more glue on the sides of these pieces and hold them together with clamps. We finally proceed to cut all the pieces. |
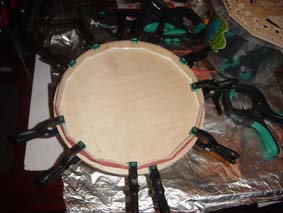 |
The little sides of the cover are hold in position with welts and clamps and glued. We then dye all the the pieces of the box trying to use more than one color to add some contrast. In this case we have used oak and walnut color. If you are using hardwood this is of course not necessary. |
 |
The body of the box is a bit delicate. We encase the sides in the base slots (attention to the order!) and hold them with welts in position. Observe that we have encased the external border of the cover inside the box. We use this piece here as a mold to hold the sides with extreme precision. |
 |
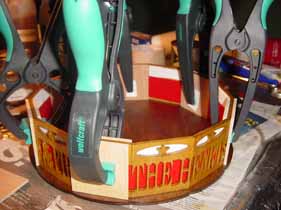
We then apply glue as shown. Observe that rather than gluing and holding in position, we hold in position and then glue. |
 |
We also apply some glue to the joints of the sides (always inside the box) and leave to dry. |
 |
We can already glue the borders to the cover of the box. We use clamps all the time. |
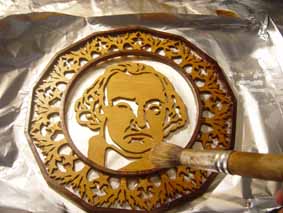 |
We then proceed to finish what we have of the box. We first apply a coat of sealer with a big brush, until the piece drips. We clean the excess and leave to dry. We finally apply several coats of a finish, in this case satin varnish. This can be done by brush or more easily with a sprayer. |
 |
The next step is to cover the interior with contrasting linen. For these boxes we use felt in the three colors of the United States flag. |
 |
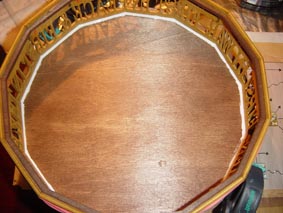
We then cover the interior with pieces of wood. Adjusting these pieces may require some sanding. |
 |
We fill the space between the external and internal woods with wood paste, we sand it and finish it. |
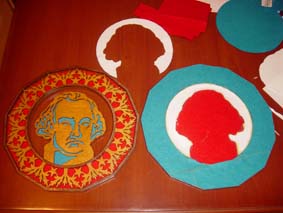 |
We use three linen colors for the cover of the box. We need to cut the three pieces carefully using a waste copy of the pattern as a guide. Once this is done the box cover is mounted and we are done. Some pictures of the completed box follow. |
 |
|
|
Please note that this pattern is
registered and copyrighted. If you would like to have it
I offer it for 7 € plus shipping. The
pattern is computer made, which provides total
precision, and nicely printed for convenient scrolling.
Click here to buy this pattern. Write me to info@finescrollsaw.com for any questions. |
|
 |
 |
|
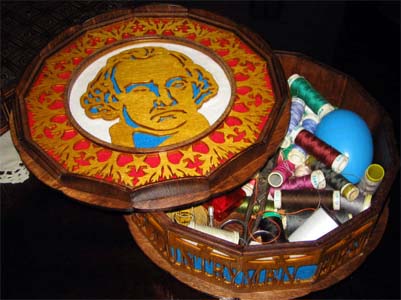 |
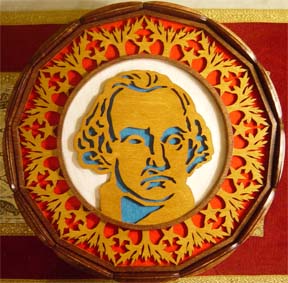
This picture has been kindly sent by Juanma from Sevilla. His mother uses the box as a sewing basket. |
 |
| This picture has been sent by Bruno Carceller from Cantavieja, Teruel, Spain. |
|
Site Map General: Home - Scroll saw examples - Free patterns 1 - Free patterns 2 - Free patterns 3 - Patterns for sale - Historical books - Shopping recommendations - Hegner review - Questions and answers - Links Scroll saw tutorials: Medusa box - Security box - Egg clock - Eiffel Tower - Sun clock - Washington box This site uses the cookies Doubleclick, Statcounter and Google Adsense to improve the user experience. You can delete these and all other cookies or to block its use from the options menu of your browser. Cookies are harmless text files used by all web sites. |